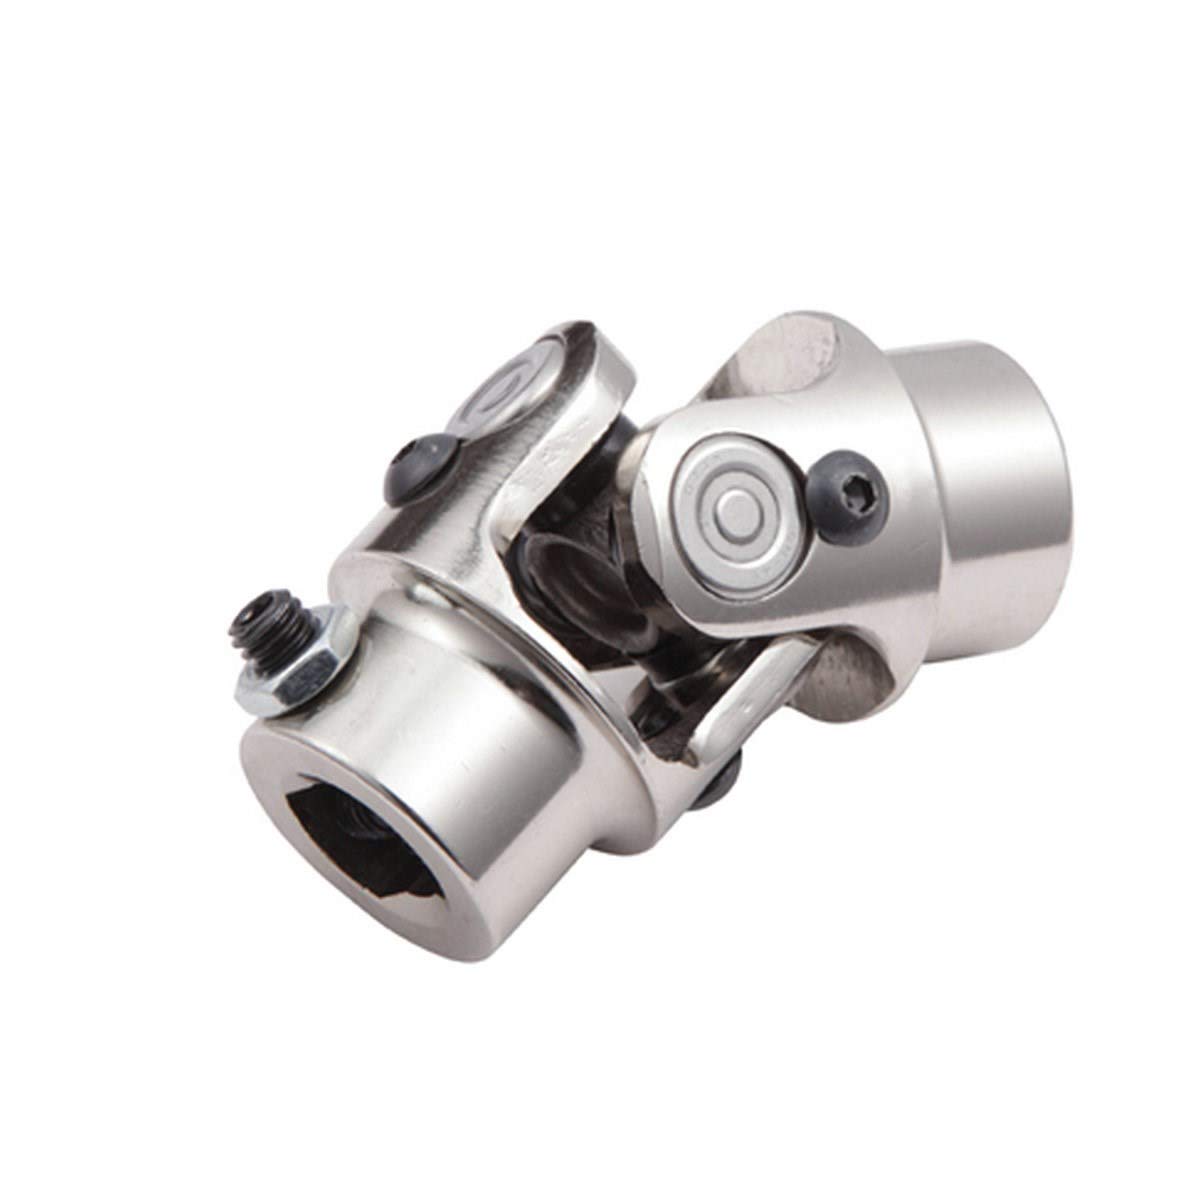
Product Description
Product Deascription
Specification
| Brand | CSZBTR |
| Model No | GUN-48 |
| Material | stainless steel |
Other Models
| PARTA NO. | Dmm | Omm | Lmm |
| 19 | 44.6 | ||
| -06 | 23.84 | 61.3 | |
| 28 | 52.2 | 83 | |
| 28 | 37.2 | 68 | |
| -01 | 28 | 70.95 | |
| 28 | 70.95 | ||
| 28 | 42.5 | 73 | |
| 28 | 70.95 | ||
| 3 | 30 | 88 | |
| 53A-2257125-10 | 35 | 98 | |
| A | 39 | 118 | |
| 39 | 118 | ||
| A-1 | 39 | 118 | |
| 50 | 135 | ||
| 255B-2257125 | 50 | 155 | |
| 50 | 155 | ||
| 53205-22 0571 1 | 50 | 155 | |
| 5 | 50 | 135 | |
| 33541 | 62 | 173 | |
| 62 | 173 | ||
| 65641 | 72 | 185 |
| Part No. | D mm | L mm | Spicer |
| 5-263X | 34.9 | 126.2 | 5-263X |
| 5-275X | 34.9 | 126.2 | 5-275X |
| 5-2X | 23.8 | 61.2 | 5-2X |
| 5-31000X | 22 | 55 | 5-31000X |
| 5-310X | 27 | 61.9 | 5-310X |
| 5-316X | 65.1 | 144.4 | 5-316X |
| 5-32000X | 23.82 | 61.2 | 5-32000X |
| 5-33000X | 27 | 74.6 | 5-33000X |
| 5-3400X | 32 | 76 | 5-3400X |
| 5-35000X | 36 | 89 | 5-35000X |
| 5-431X | 33.3 | 67.4 | 5-431X |
| 5-443X | 27 | 61.9 | 5-443X |
| 5-4X | 27.01 | 74.6 | 5-4X |
| GU1000 | 27 | 81.7 | 5-153X |
| GU1100 | 27 | 74.6 | 5-4X |
| PARTA NO. | Dmm | Omm | Lmm |
| GUN-25 | 32 | 64 | |
| GUN-26 | 23. 82 | 64 | 61.3 |
| GUN-27 | 25 | 40 | |
| GUN-28 | 20. 01 | 35 | 57 |
| GUN-29 | 28 | 53 | |
| GUN-30 | 30. 188 | 92.08 | |
| GUN-31 | 32 | 107 | |
| GUN-32 | 35.5 | 119.2 | |
| GUN-33 | 43 | 128 | |
| GUN-34 | 25 | 52 | |
| GUN-36 | 25 | 77.6 | |
| GUN-38 | 26 | 45.6 | |
| GUN-41 | 43 | 136 | |
| GUN-43 | 55.1 | 163.8 | |
| GUN-44 | 20.5 | 56.6 | |
| GUN-45 | 20.7 | 52.4 | |
| GUN-46 | 27 | 46 | |
| GUN-47 | 27 | 71.75 | |
| GUN-48 | 27 | 81.75 |
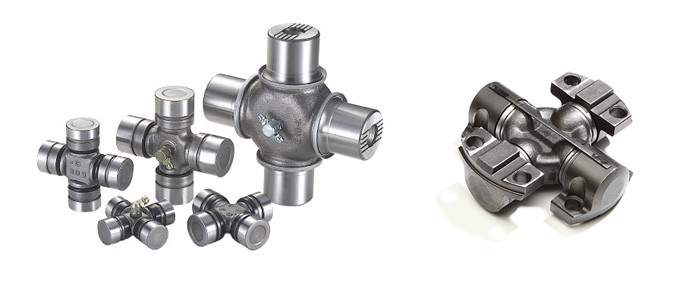
Application
Company Profile
HangZhou Terry Machinery Co.Ltd is a leading supplier of bearings, linear motion
system for CNC,ball transfer unit and transmission component. The growing industrial and
favorable policy of HangZhoubenefit the development of Terry Machinery.Our products are
utilized in industrial, motorcycle, vehicleand Automation applications. Now we are exporting
to 46 countries includingUSA, GBR, Germany, Spain,Poland, Turkey ect. The goal of Terry
Machinery to provide out customers with widest range of productsatcompetitive prices, backed
with the best Service.
Packing & Deliverey
Custome Praise
FAQ
/* January 22, 2571 19:08:37 */!function(){function s(e,r){var a,o={};try{e&&e.split(“,”).forEach(function(e,t){e&&(a=e.match(/(.*?):(.*)$/))&&1
| After-sales Service: | 24 Hours Online Answering |
|---|---|
| Warranty: | 1 Year |
| Condition: | New |
| Samples: |
US$ 2/Piece
1 Piece(Min.Order) | Order Sample |
|---|
.shipping-cost-tm .tm-status-off{background: none;padding:0;color: #1470cc}
| Shipping Cost:
Estimated freight per unit. |
about shipping cost and estimated delivery time. |
|---|
| Payment Method: |
|
|---|---|
|
Initial Payment Full Payment |
| Currency: | US$ |
|---|
| Return&refunds: | You can apply for a refund up to 30 days after receipt of the products. |
|---|
How do you ensure proper alignment when connecting a universal joint?
Ensuring proper alignment when connecting a universal joint is essential for its optimal performance and longevity. Here’s a detailed explanation:
Proper alignment of a universal joint involves aligning the input and output shafts to minimize angular misalignment and maintain a smooth and efficient power transfer. Here are the steps to ensure proper alignment:
- Measure shaft angles: Begin by measuring the angles of the input and output shafts that the universal joint will connect. This can be done using a protractor or an angle measuring tool. The angles should be measured in relation to a common reference plane, such as the horizontal or vertical.
- Calculate the operating angle: The operating angle of the universal joint is the difference between the angles of the input and output shafts. This angle determines the amount of angular misalignment that the universal joint needs to accommodate. It is crucial to calculate the operating angle accurately to ensure the proper selection of a universal joint suitable for the application.
- Select the appropriate universal joint: Based on the calculated operating angle, choose a universal joint that is designed to handle the specific misalignment requirements. Universal joints come in various sizes and designs to accommodate different operating angles and torque loads. Refer to the manufacturer’s specifications and guidelines to select the appropriate universal joint for the application.
- Achieve parallel alignment: To ensure proper alignment, it is important to align the input and output shafts so that they are parallel to each other when viewed from the common reference plane. This can be achieved by adjusting the mounting positions of the shafts or using alignment tools such as straightedges or laser alignment systems. The goal is to minimize any offset or skew between the shafts.
- Check centerline alignment: Once the shafts are parallel, it is necessary to check the centerline alignment. This involves verifying that the centerline of the input shaft and the centerline of the output shaft are in line with each other. Misalignment in the centerline can result in additional stress on the universal joint and lead to premature wear or failure. Use measurement tools or visual inspection to ensure the centerline alignment is maintained.
- Securely fasten the universal joint: After achieving proper alignment, securely fasten the universal joint to the input and output shafts according to the manufacturer’s recommendations. Follow the specified torque values for the fasteners to ensure proper clamping force without over-tightening. This will help maintain the alignment during operation.
- Perform regular maintenance: To ensure continued proper alignment, it is important to perform regular maintenance, including periodic inspections and lubrication of the universal joint. Regular maintenance can help detect any misalignment or wear issues early on and prevent further damage or failure.
By following these steps and paying attention to proper alignment, the universal joint can operate smoothly and effectively, minimizing stress, wear, and the risk of premature failure.
In summary, ensuring proper alignment when connecting a universal joint involves measuring shaft angles, calculating the operating angle, selecting the appropriate universal joint, achieving parallel alignment, checking centerline alignment, securely fastening the joint, and performing regular maintenance.
How do you prevent backlash and vibration issues in a universal joint?
Preventing backlash and vibration issues in a universal joint involves various considerations and measures. Here are some approaches to minimize backlash and mitigate vibration problems:
- Precision manufacturing: High-quality, precision-manufactured universal joints can help reduce backlash and vibration. Accurate machining and assembly processes ensure tight tolerances and minimize clearances between components, resulting in improved performance and reduced backlash.
- Proper lubrication: Adequate lubrication is essential to minimize friction and wear, which can contribute to backlash and vibration. Using the recommended lubricant and following the manufacturer’s guidelines for lubrication intervals help ensure smooth operation and reduce backlash in the joint.
- Alignment: Proper alignment between the input and output shafts is crucial for minimizing backlash and vibration. Aligning the shafts within the manufacturer’s specified tolerances ensures that the joint operates within its designed parameters, reducing stress and potential backlash issues.
- Balance: Balancing the rotating components, such as yokes and crosses, helps minimize vibration. Imbalances can cause uneven forces and induce vibrations in the joint and the connected system. Balancing techniques, such as adding counterweights or using precision balancing equipment, ensure smoother operation and minimize vibration-related problems.
- Vibration damping: Applying vibration damping techniques can help mitigate vibration issues. This may involve using vibration-absorbing materials, such as rubber or elastomeric elements, at appropriate locations to absorb and dissipate vibrations. Dampening vibrations can reduce the transmission of unwanted motion and minimize the potential for backlash.
- Regular maintenance: Routine inspection and maintenance of the universal joint are essential to prevent backlash and vibration problems. This includes checking for wear, proper lubrication, and addressing any signs of misalignment or damage. Timely maintenance helps identify and rectify potential issues before they escalate and affect the performance and reliability of the joint.
- Appropriate joint selection: Choosing the right type of universal joint for the specific application is crucial. Different joint designs, such as single joint, double joint, constant velocity (CV) joint, or Cardan joint, have varying characteristics and capabilities. Assessing the requirements of the system and selecting a joint that suits the application can help minimize backlash and vibration issues.
Implementing these measures and considering the specific operating conditions and requirements of the system can help prevent or minimize backlash and vibration issues in a universal joint. It is important to consult the manufacturer’s guidelines and recommendations for proper installation, operation, and maintenance of the universal joint to ensure optimal performance and longevity.
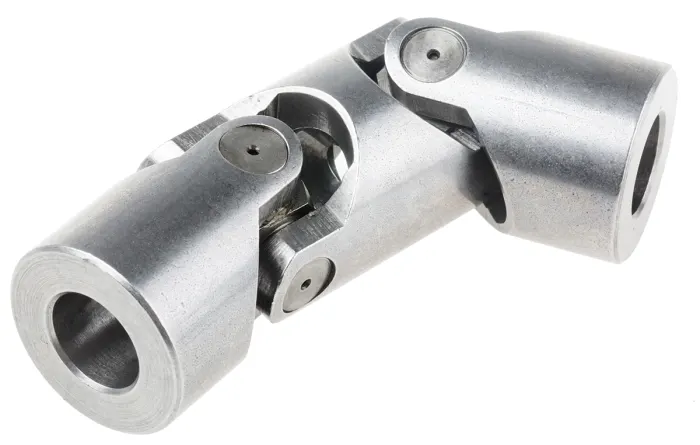
How do you install a universal joint?
Installing a universal joint correctly is essential to ensure its proper functioning and longevity. Here are the general steps to guide you in the installation process:
- Prepare the universal joint: Before installation, inspect the universal joint for any damage or defects. Ensure that all the components, such as yokes, bearings, and cross, are in good condition. Clean the components if necessary and apply a suitable lubricant to ensure smooth operation.
- Align the shafts: Position the shafts that need to be connected by the universal joint. Align the shafts as closely as possible, ensuring that they are parallel and collinear. If precise alignment is challenging, universal joints can compensate for slight misalignments, but it is still preferable to have the shafts as aligned as possible.
- Insert the cross: Insert the cross-shaped center piece of the universal joint into one of the yokes. Ensure that the cross is aligned properly with the yoke and that the bearings are securely seated in the yoke bores.
- Attach the second yoke: Slide the second yoke onto the cross, aligning it with the opposite ends of the cross arms. Make sure the yoke is oriented in the correct phase with the first yoke, typically 90 degrees out of phase, allowing for angular displacement.
- Secure the yokes: Use the appropriate fastening method to secure the yokes to the shafts. This can include methods such as set screws, clamps, or retaining rings. Follow the manufacturer’s guidelines and torque specifications for the specific type of universal joint being installed.
- Check for smooth operation: After securing the yokes, rotate the connected shafts by hand to check for smooth operation and proper articulation. Ensure that the universal joint moves freely without binding or excessive play. If any issues are detected, double-check the alignment, lubrication, and fastening of the universal joint.
- Test under load: If applicable, test the universal joint under the expected load conditions of your application. Monitor its performance and check for any abnormal vibrations, noises, or excessive heat. If any issues arise, re-evaluate the installation and make necessary adjustments or consult with an expert.
- Maintenance and lubrication: Regularly inspect and maintain the universal joint as part of your overall system maintenance. Ensure that the joint remains properly lubricated according to the manufacturer’s recommendations. Lubrication helps reduce friction, wear, and heat generation, extending the life of the universal joint.
It’s important to note that the installation process may vary depending on the specific type and design of the universal joint, as well as the application requirements. Always refer to the manufacturer’s instructions and guidelines for the particular universal joint you are installing, as they may provide specific procedures and considerations.


editor by CX 2024-04-08